Send data from Cribl to Axiom
Learn how to configure Cribl Stream to forward data to Axiom using the Webhook or Syslog destination, and how to send OCSF security data with the OCSF for Axiom pack.
Cribl is a data processing framework often used with machine data. It allows you to parse, reduce, transform, and route data to and from various systems in your infrastructure.
You can send data from Cribl Stream to Axiom using the Webhook destination or the Syslog destination.
Prerequisites
- Create an Axiom account.
- Create a dataset in Axiom where you send your data.
- Create an API token in Axiom with permissions to ingest data to the dataset you have created.
Send data using the Webhook destination
Cribl Stream has no dedicated Axiom destination. The stock Webhook destination sends batched, compressed NDJSON events straight to Axiom’s ingest API.
-
In Cribl Stream, add a Webhook destination and enter an Output ID for it.
-
Configure the destination with the following settings.
General settings
Setting Value Webhook URL https://AXIOM_DOMAIN/v1/ingest/DATASET_NAME, whereAXIOM_DOMAINis the base domain of your organization’s edge deployment, for exampleus-east-1.aws.edge.axiom.cooreu-central-1.aws.edge.axiom.co, andDATASET_NAMEis the target datasetMethod POSTFormat NDJSONBackpressure behavior Persistent Queue, so Cribl buffers events to disk while Axiom is unreachable or rate-limitingAuthentication
Setting Value Authentication type Auth tokenToken An Axiom API token with permission to ingest into the dataset Advanced settings
Setting Value Compress On (the default). Cribl sends gzip, which Axiom accepts. Body size limit (KB) 4096(the default)Events-per-request limit 10000. Axiom accepts at most 10,000 events per request. The default,0, is unlimited.Flush period (sec) 1(the default)Request concurrency 5(the default)Retries
Turn on Honor Retry-After header (the default). In Settings for failed HTTP requests, keep the default rows, which retry
408,429,500,502,503,504, and509, and add a row for430:HTTP status code Pre-backoff interval (ms) Backoff multiplier Backoff limit (ms) 430100002180000A Persistent Queue holds events only up to its Queue size limit, measured on uncompressed data. On Cribl-managed Cribl.Cloud Workers, the size is fixed at 1 GB per destination per Worker Process. When the queue is full, the destination blocks or drops events according to Queue-full behavior. Delivery is at-least-once: a retried or replayed batch can arrive twice. For more information, see Persistent Queue settings in the Cribl documentation.
-
Optional: In Processing Settings > Post-Processing, select a pipeline to shape events before they leave Cribl, and adjust System fields. By default, Cribl adds the
cribl_pipefield to every event. -
Save the destination, and then commit and deploy the change.
Send data using the Syslog destination
Create Syslog endpoint
- Click Settings > Endpoints.
- Click New endpoint.
- Click Syslog.
- Name the endpoint.
- Select the dataset where you want to send data.
- Copy the URL displayed for the newly created endpoint. This is the target URL where you send the data.
Configure destination in Cribl
- Create a new Syslog destination in Cribl Stream:
Open Cribl’s UI and navigate to Destinations > Syslog. Click on + Add New to create a new destination.
- Configure the destination:
-
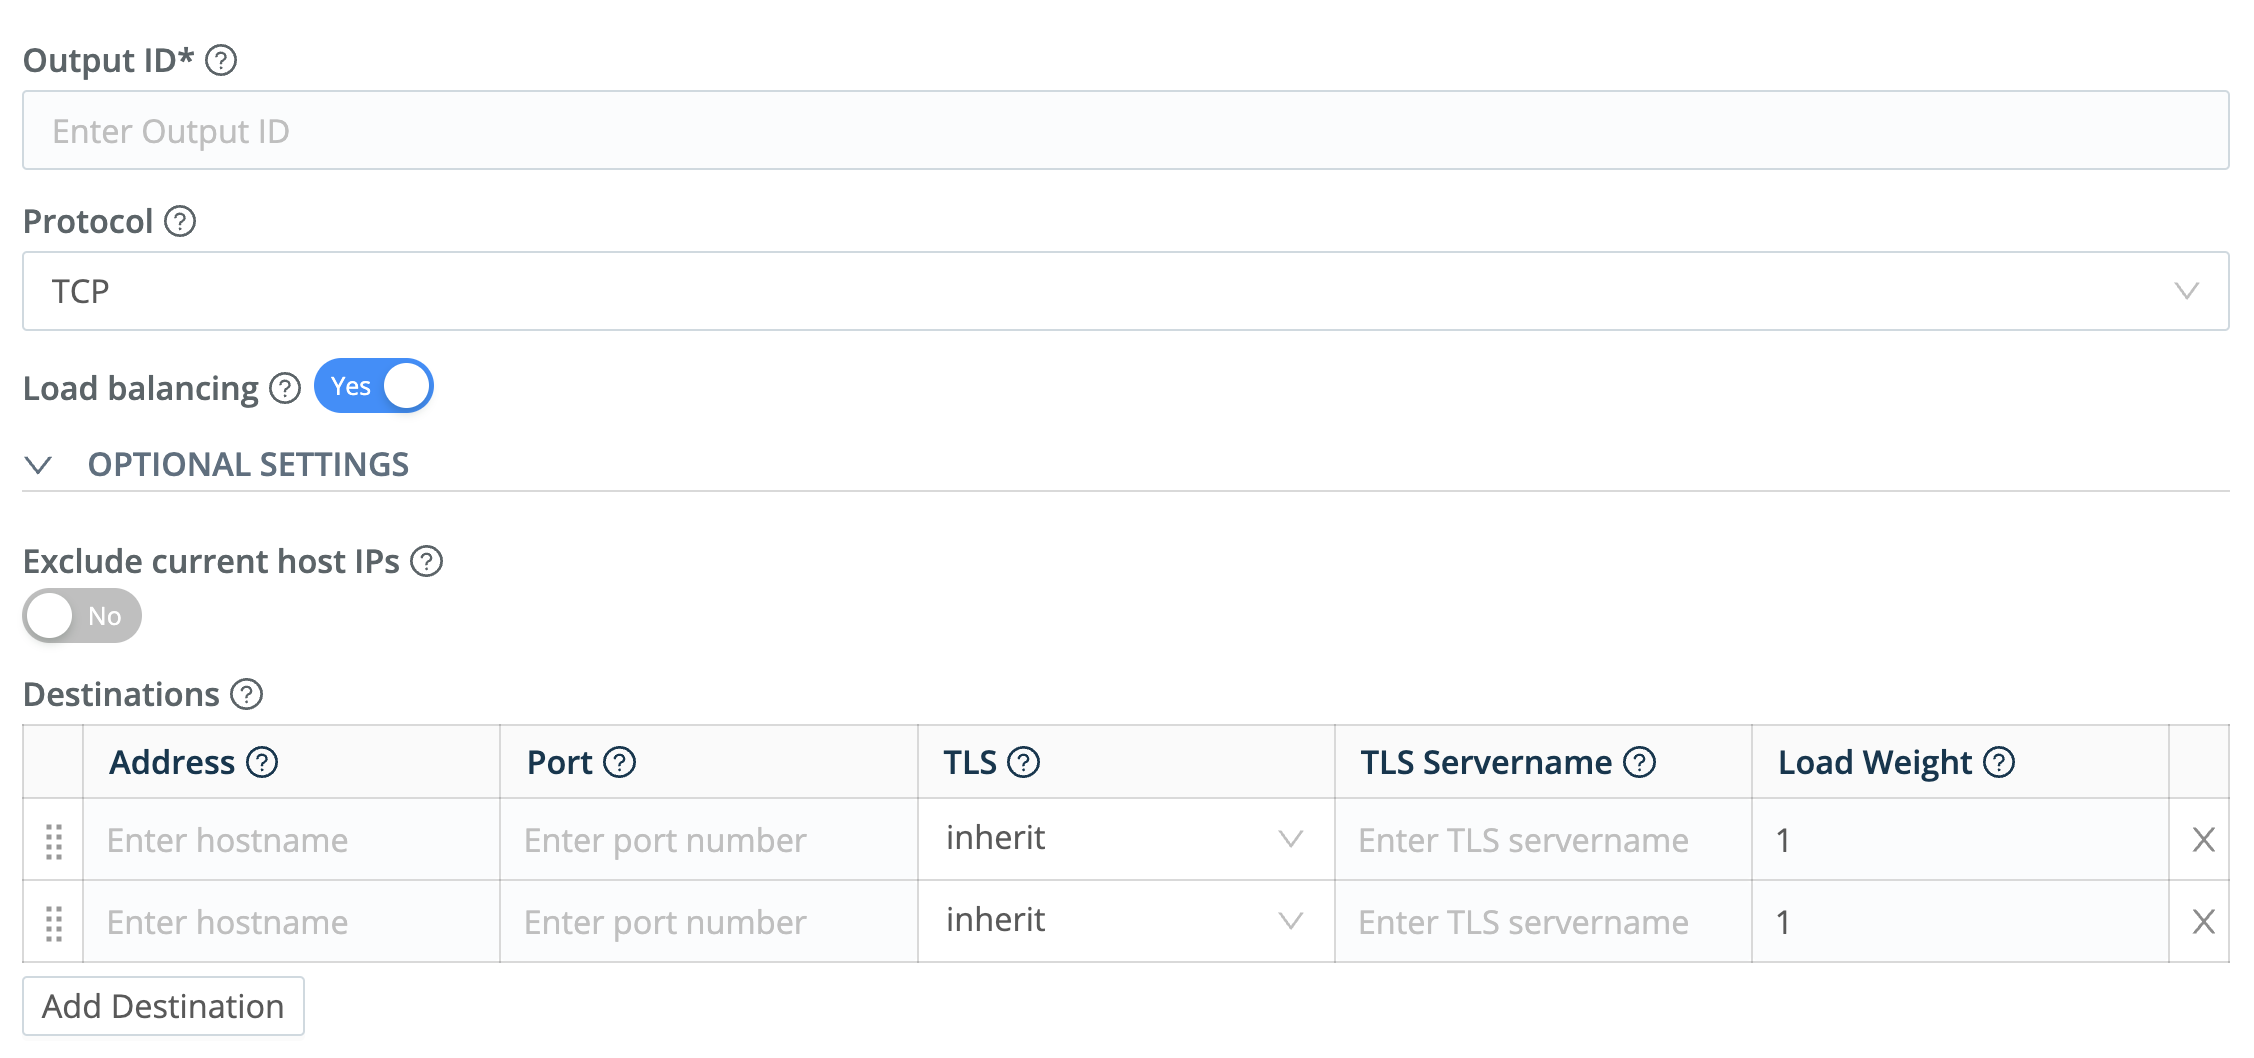
Name: Choose a name and output ID for the destination.
-
Protocol: Choose the protocol for the Syslog messages. Select the TCP protocol.
-
Destination Address: Input the address of the Axiom endpoint to which you want to send logs. This address is generated from your Syslog endpoint in Axiom and follows this format:
tcp+tls://qsfgsfhjsfkbx9.syslog.axiom.co:6514. -
Destination Port: Enter the port number on which the Axiom endpoint is listening for Syslog messages which is
6514 -
Format: Choose the Syslog message format.
RFC3164is a common format and is generally recommended. -
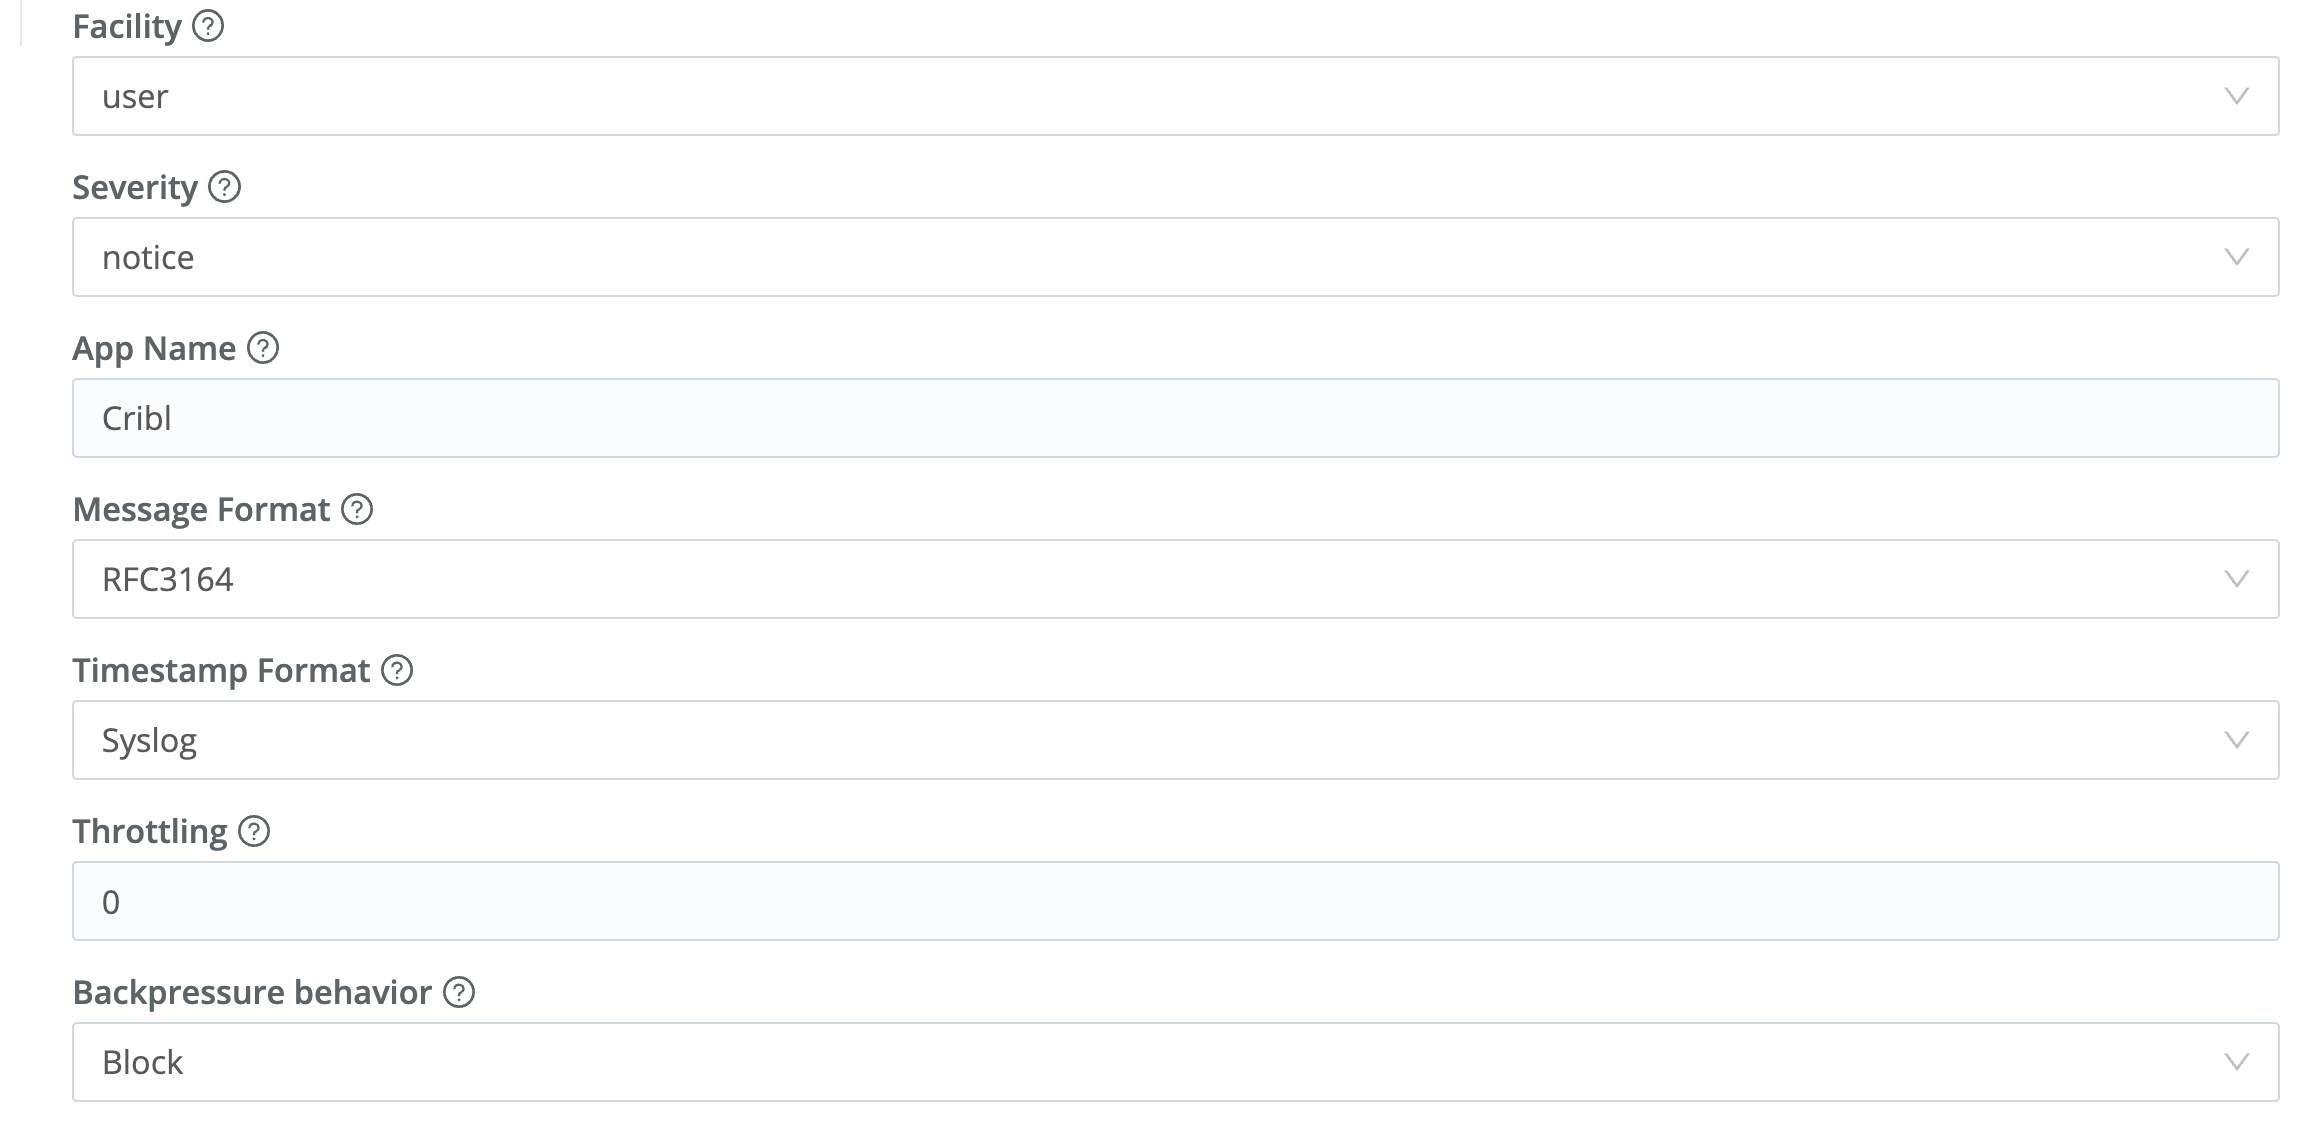
Facility: Choose the facility code to use in the Syslog messages. The facility code represents the type of process that’s generating the Syslog messages.
-
Severity: Choose the severity level to use in the Syslog messages. The severity level represents the importance of the Syslog messages.
- Configure the Message:
-
Timestamp Format: Choose the timestamp format to use in the Syslog messages.
-
Application Name Field: Enter the name of the field to use as the app name in the Syslog messages.
-
Message Field: Enter the name of the field to use as the message in the Syslog messages. Typically, this would be
_raw. -
Throttling: Enter the throttling value. Throttling is a mechanism to control the data flow rate from the source (Cribl) to the destination (in this case, an Axiom Syslog Endpoint).
- Save and enable the destination
After you’ve finished configuring the destination, save your changes and make sure the destination is enabled.